



Install on macOS
Download and run the Ringleader installer package, which installs the macOS native app and the bundled rl CLI.
Ringleader ships for macOS as a signed installer package (.pkg). Installing it
gives you two things at once:
- the Ringleader macOS native app: a native app that lives in your menu bar, runs the local container runtime, and boots your workstations, and
- the
rlCLI, placed on yourPATH, along with the bundleddocker,kubectl,kindandhelmwherever you don’t already have your own.
Note
arm64);
for Windows, see Install on Windows.Requirements
- A Mac with Apple Silicon (M1 or newer).
- macOS 13 (Ventura) or later.
- Administrator rights (the installer creates symlinks under
/usr/local/bin).
You do not need Docker Desktop: Ringleader bundles its own container runtime.
If you already use Docker Desktop, OrbStack, Colima or Rancher Desktop, Ringleader
installs alongside it. The installer leaves your existing docker command where
it is, and the first-run wizard switches docker to Ringleader’s runtime only if
you ask it to. What gets installed has the details.
1. Download the installer
Your invitation arrives as an email from Ringleader saying you can sign in with your Google
account. Sign in at app.ringleader.dev with that address, open
Downloads in the top menu, and download the latest Ringleader-<version>.pkg.
2. Run the installer
Double-click the .pkg to launch the macOS Installer, then follow the steps.
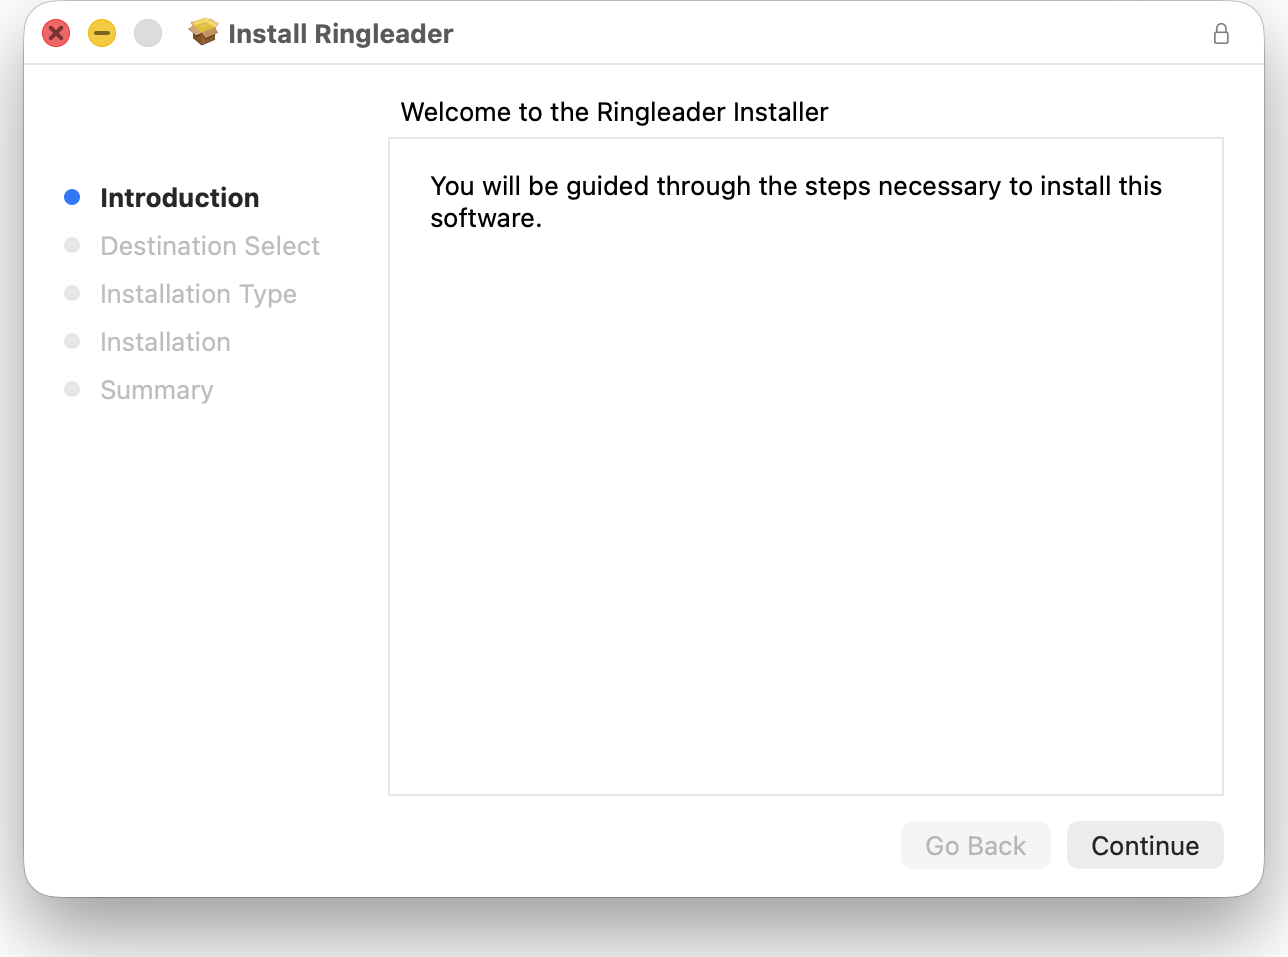
Click Continue through the introduction, and review the license if one is shown, then click Install. macOS will ask for your password to authorize the installation.
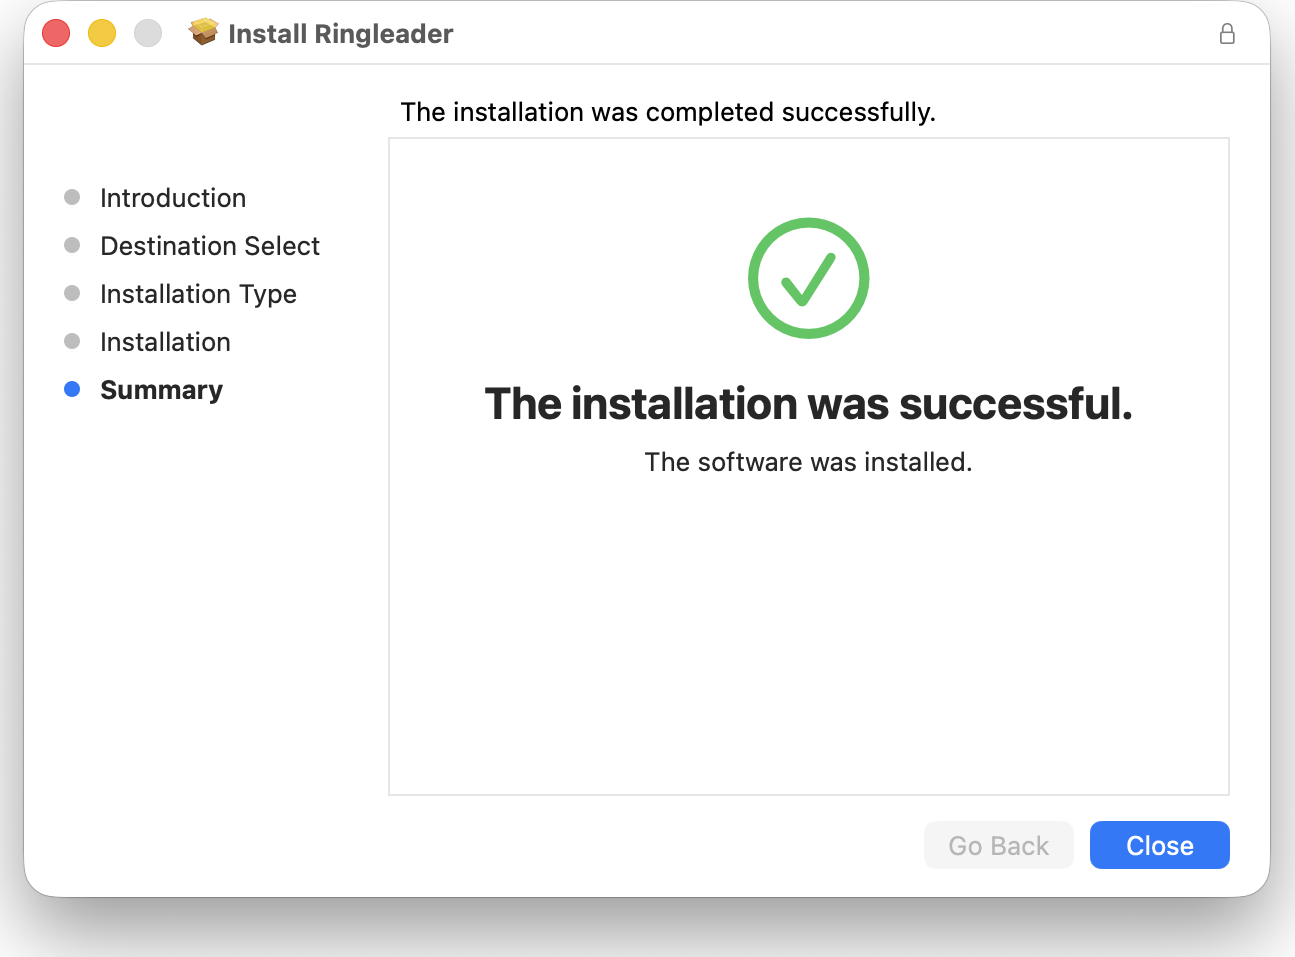
The installer copies Ringleader.app into /Applications and creates the
command-line links described below. When it finishes you will see a confirmation screen.
Gatekeeper warning on beta builds
.pkg and choose Open, or allow it under System
Settings → Privacy & Security.What gets installed
The package installs the app, and links its command-line tools into
/usr/local/bin for your terminal. The Docker CLI plugins go into
/usr/local/lib/docker/cli-plugins:
| Tool | Linked to |
|---|---|
rl | /usr/local/bin/rl, always |
ringleader | /usr/local/bin/ringleader (alias for rl), always |
docker | /usr/local/bin/docker, unless you already have one there |
docker compose / buildx | /usr/local/lib/docker/cli-plugins/, unless you already have them there |
kubectl | /usr/local/bin/kubectl, unless you already have one there |
kind | /usr/local/bin/kind, unless you already have one there |
helm | /usr/local/bin/helm, unless you already have one there |
If Docker Desktop, OrbStack, Homebrew or anything else already put one of these
tools at its path, the installer leaves it exactly as it is, and your terminal
keeps using it. The installer log, /var/log/install.log, names each path it
left alone with Skipped (not ours). A link whose target no longer exists is
the one exception: the installer replaces it. Dragging Docker Desktop to the
Trash leaves one of those at /usr/local/bin/docker.
rl and ringleader are Ringleader’s own names. If something else is at one of
those two paths, the installer moves it to <name>.pre-ringleader, and
uninstalling puts it back.
Ringleader runs vz, and Lima for the workstations that use it, from inside the
app. None of lima, limactl or the vz helper ringleader-vz is added to your
PATH. If you use Lima yourself, your own copy stays the one your terminal runs.
Upgrading from an earlier version
Earlier versions replaced an existing docker link in /usr/local/bin. That
affects Docker Desktop when it installs its command-line tools system-wide (its
Settings → Advanced → System option). Docker Desktop checks its links when it
starts and offers to restore them. To restore the link yourself, run:
sudo ln -sf /Applications/Docker.app/Contents/Resources/bin/docker /usr/local/bin/dockerUpgrading to this version leaves that link alone from then on.
Note
rl. The longer ringleader name stays available as a
permanent alias, so existing scripts and muscle memory keep working. The two are
interchangeable; this documentation uses rl throughout.3. Verify the install
Open a new terminal (so it picks up the updated PATH) and confirm the CLI is
available:
rl version
which rl
# /usr/local/bin/rl
4. Start the app
Open Ringleader from /Applications (or Spotlight). On first launch it starts
a background rl daemon, the control loop that boots workstations and
forwards the Docker socket.
5. Complete first-run onboarding
The first time it runs, the app shows a short onboarding wizard with four
opt-in actions: sign in to Ringleader Cloud, create the local container runtime, set
up ssh for workstations, and launch at login. Pick the ones you want, or skip and
do them later from Settings. Creating the runtime switches docker in every
terminal to it, so on a Mac that already uses another Docker runtime the wizard
leaves that option unticked.
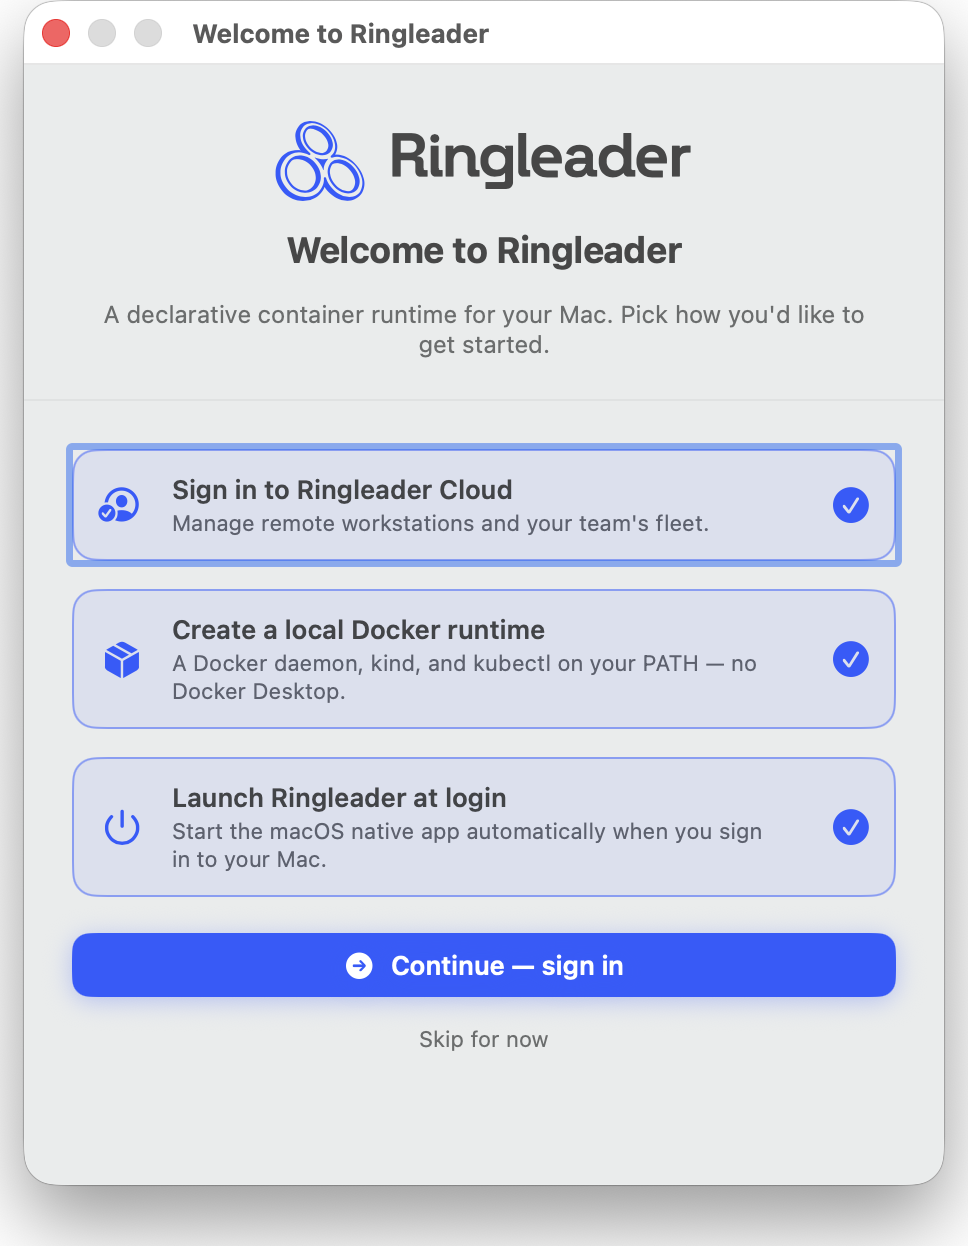
See Onboarding for a full walkthrough of signing in and bringing up your first workstation.
6. Find the app in the menu bar
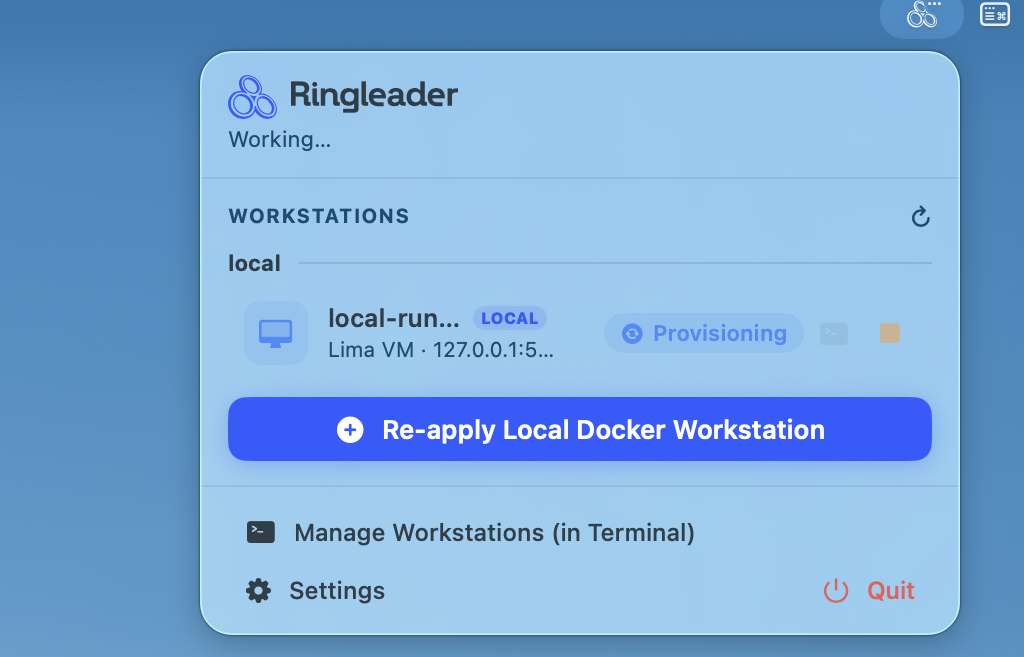
Ringleader lives in the macOS menu bar, near the clock and Control Center icons. Look for the Ringleader mark there rather than in the Dock. Click it for a live list of your workstations with status pills and per-row start / stop / shell controls.
The Settings window
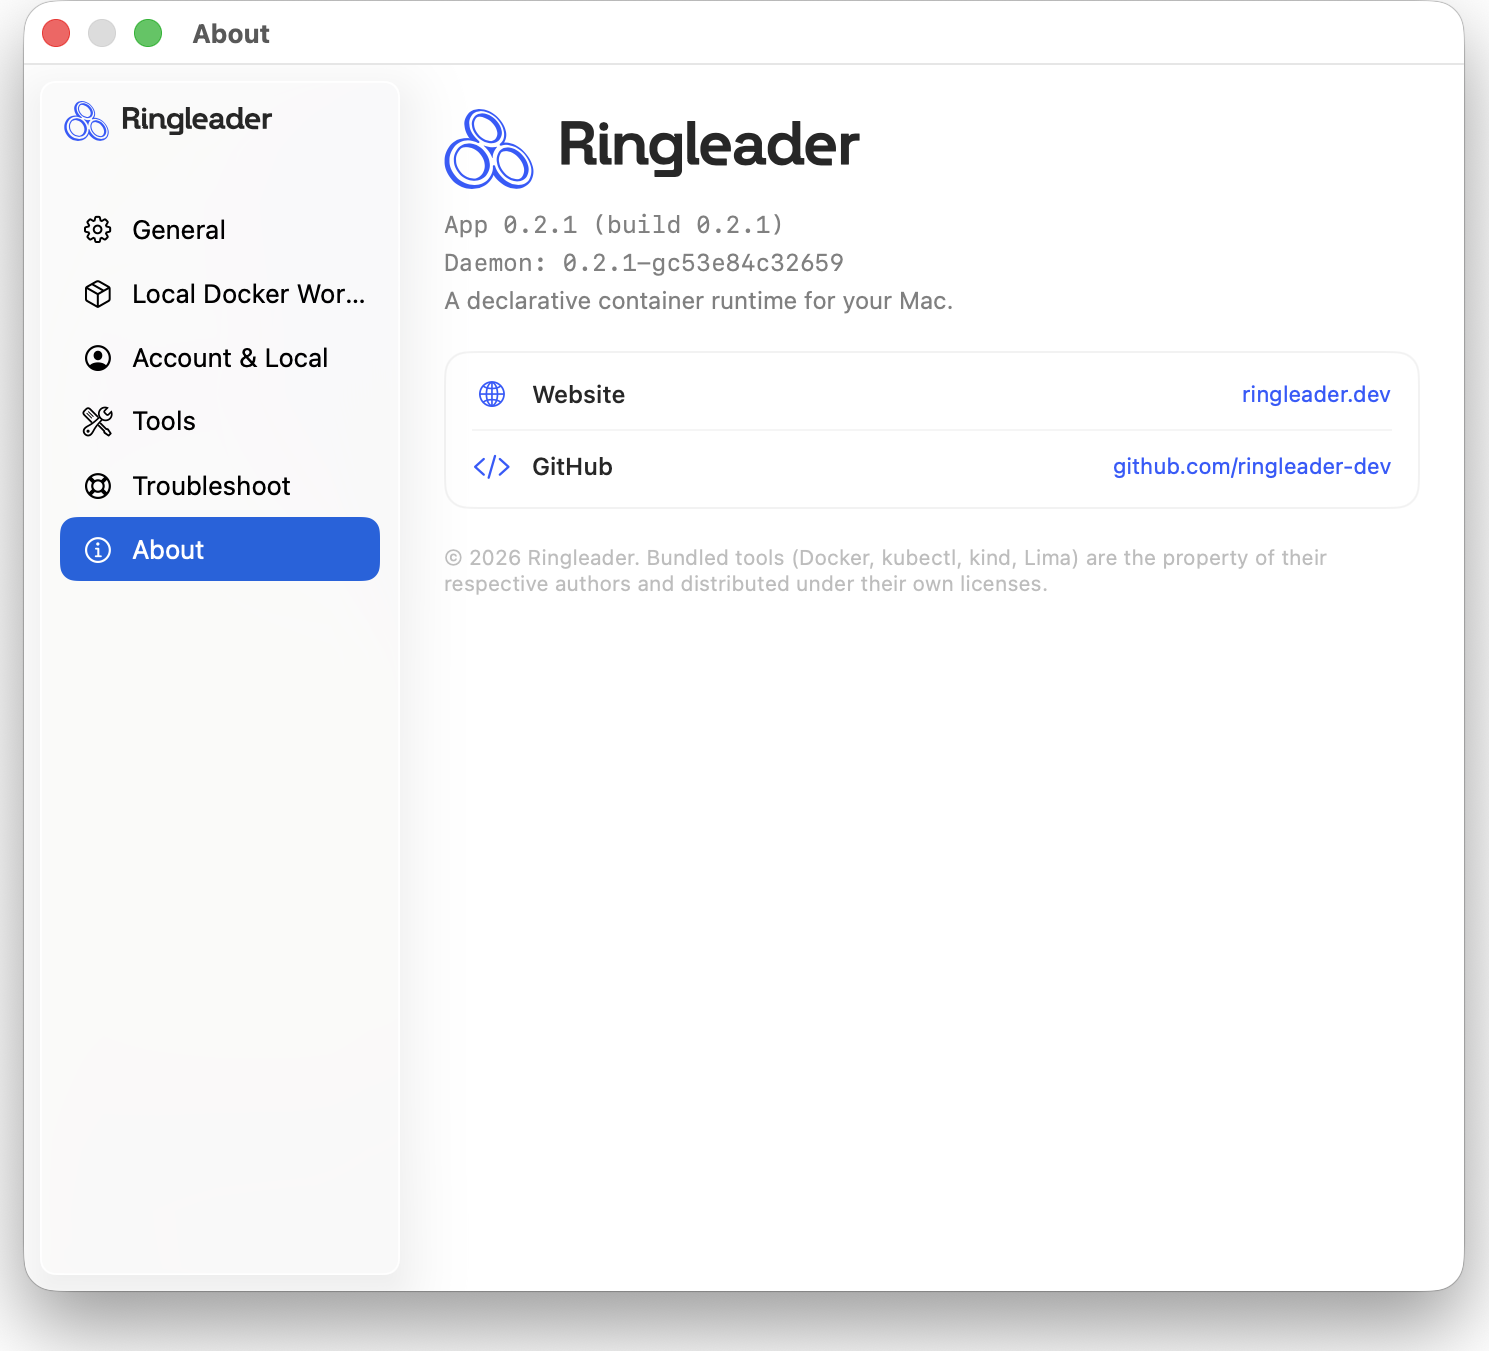
Choose Settings from the macOS native app to configure Ringleader. The window groups options into several panes (General, Local Container Workstation, Account & Local, Tools, and Troubleshoot) plus an About pane that shows the installed app and daemon versions. For what each pane does, see the Settings reference.
Optional: reach workstations with plain ssh
rl shell is a convenience, not a requirement. The daemon continuously writes a
real OpenSSH configuration for your workstations under ~/.ringleader/ssh/, and
keeps it current as workstations come and go. Wire it into your own SSH config once:
# Create ~/.ssh/config if you don't have one.
mkdir -p ~/.ssh && chmod 700 ~/.ssh
touch ~/.ssh/config && chmod 600 ~/.ssh/config

# Add the Include as the FIRST line (see the warning below).
printf 'Include ~/.ringleader/ssh/config\n\n%s\n' "$(cat ~/.ssh/config)" > ~/.ssh/config.new \
  && mv ~/.ssh/config.new ~/.ssh/config
From then on ssh my-box, scp, rsync, sftp, git clone my-box:repo.git, and
VS Code / Cursor Remote-SSH all reach your workstations by name, with the host key
pinned and connections multiplexed.
The Include must come first
Include
sits below a Host * block that sets IdentityFile, ssh will offer the wrong key
and fail to authenticate. Keep the line above every Host and Match block.See Using ssh directly in the CLI reference for the
host aliases, what each generated block contains, and the caveats.
Uninstalling
To remove Ringleader, quit the app, then remove the command-line links that lead
into it, and then the app itself. Remove the links first, while they still
resolve. The installer only ever created links, and it moved aside anything it
found at rl or ringleader, so this puts back exactly what was there before:
# Stop the app and its daemon first. This also asks every vz workstation to
# shut down.
pkill -f Ringleader.app
rl daemon stop 2>/dev/null || true

# Give the vz workstations up to 90 seconds to power off, then stop any that
# remain.
helper=/Applications/Ringleader.app/Contents/Resources/bin/ringleader-vz
for _ in $(seq 45); do
  pgrep -f "^$helper" >/dev/null || break
  sleep 2
done
pkill -9 -f "^$helper" || true

# Find the links that lead into the app. `ringleader` leads there through `rl`,
# so check every one before removing any.
ours=()
for f in /usr/local/bin/{rl,ringleader,docker,kubectl,kind,helm,lima,limactl} \
         /usr/local/lib/docker/cli-plugins/docker-{compose,buildx} /usr/local/share/lima; do
  if [ -L "$f" ] && realpath "$f" 2>/dev/null | grep -q '^/Applications/Ringleader.app/'; then
    ours+=("$f")
  fi
done

# Remove them, and put back anything the installer moved aside.
for f in "${ours[@]}"; do
  sudo rm -f "$f"
  if [ -e "$f.pre-ringleader" ] || [ -L "$f.pre-ringleader" ]; then
    sudo mv "$f.pre-ringleader" "$f"
  fi
done

# Remove the app.
sudo rm -rf /Applications/Ringleader.app
If the local container runtime switched docker to Ringleader’s context, switch
it back too: docker context use desktop-linux for Docker Desktop, for example,
or docker context use default.
Your data directory (~/.ringleader) is left in place. It holds the disks of your
local workstations, vz ones included. Remove it too only if you want a completely
clean slate and no longer need them.