



Install on Windows
Download and run the Ringleader MSI installer, which installs the Windows tray app and the bundled rl CLI.
Ringleader ships for Windows as an MSI installer (Ringleader-<version>-amd64.msi).
Installing it gives you three things at once:
- the Ringleader Windows app: a native app that lives in your system tray, fronts the local container runtime, and boots your workstations.
- the
rlCLI (plus the bundleddocker,kubectl,kind, andhelmtools, and the Dockercompose/buildxplugins), added to the machinePATH. - the Ringleader VM Service, a Windows service that runs the Hyper-V virtual
machines of
hcsworkstations. The installer adds it whether or not you usehcs.
On Windows, a local workstation runs as a WSL2 distribution unless it names the
hcs provider, which runs it as its
own Hyper-V virtual machine. Neither needs a separate virtual-machine tool to install or
manage.
Note
Requirements
- A 64-bit (x64) PC running Windows 11, or Windows 10 with WSL2 available.
- WSL2 enabled. If you have never used WSL, run
wsl --installfrom an elevated (Administrator) terminal and reboot when prompted. A workstation that names no provider runs on WSL2. - Administrator rights (the installer is per-machine and updates the machine
PATH).
To run a workstation on hcs as well, the PC also needs Hyper-V and Virtual Machine
Platform turned on. Open Turn Windows features on or off, tick both, and restart when
Windows asks. Ringleader has tested hcs only on Windows 11 Pro.
You do not need Docker Desktop: Ringleader bundles its own container runtime.
If you already use Docker Desktop or Rancher Desktop, Ringleader installs
alongside it. The installer adds its tools to the end of the machine PATH, so
your existing docker stays the one your terminal runs, and the first-run wizard
switches docker to Ringleader’s runtime only if you ask it to.
1. Download the installer
Your invitation arrives as an email from Ringleader saying you can sign in with your Google
account. Sign in at app.ringleader.dev with that address, open
Downloads in the top menu, and download the latest Ringleader-<version>-amd64.msi.
2. Run the installer
Double-click the .msi and follow the steps. Windows will ask for administrator
approval to complete the installation.
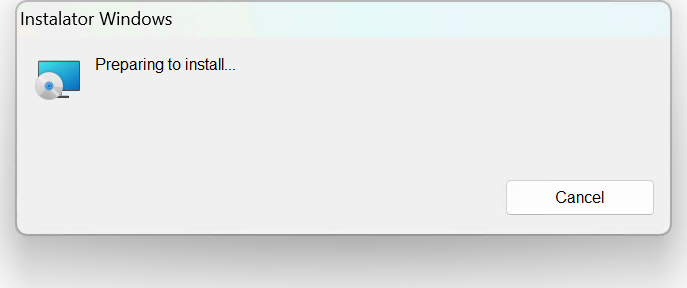
The installer places the app and the bundled command-line tools and updates the
machine PATH. Unlike the macOS installer, there is no separate “installation
complete” dialog. When the progress window closes, the install is finished.
SmartScreen warning on beta builds
What gets installed
The package installs the tray app and puts the bundled command-line tools on the
machine PATH:
| Tool | Purpose |
|---|---|
rl.exe | the Ringleader CLI |
ringleader.exe | alias for rl.exe |
docker (+ compose/buildx plugins) | the Docker CLI, used when no other docker comes first on your PATH |
kubectl | the Kubernetes CLI |
kind | Kubernetes-in-Docker clusters |
helm | the Kubernetes package manager |
The package also installs the Ringleader VM Service. It starts with Windows and runs as the
Local System account. For the Windows account that asks, it creates, starts and stops the Hyper-V
virtual machines of hcs workstations, which is why creating one needs no administrator after the
install. It acts for no other account. Any account on the PC can ask it, and nothing from
another PC can. Windows lists it under Services as Ringleader VM Service.
Unlike the macOS package there is no lima/limactl. On Windows a workstation runs as a WSL2
distribution, the default, or as a Hyper-V virtual machine when it names the hcs provider,
instead of a vz or Lima VM.
Note
rl. The longer ringleader name stays available as a
permanent alias, so existing scripts and muscle memory keep working. Windows
installs it as a second executable rather than a symlink, so ringleader.exe
behaves identically to rl.exe, including Ctrl+C handling. This documentation
uses rl throughout.3. Verify the install
Open a new terminal (so it picks up the updated PATH) and confirm the CLI is
available:
rl version4. Start the app
Open Ringleader from the Start menu. On first launch it starts the
background rl daemon, the control loop that boots workstations and
forwards the Docker socket.
5. Complete first-run onboarding
The first time it runs, the app shows a short onboarding wizard with four
opt-in actions: sign in to Ringleader Cloud, create the local container runtime, set
up ssh for workstations, and launch at login. Pick the ones you want, or skip and
do them later from Settings.
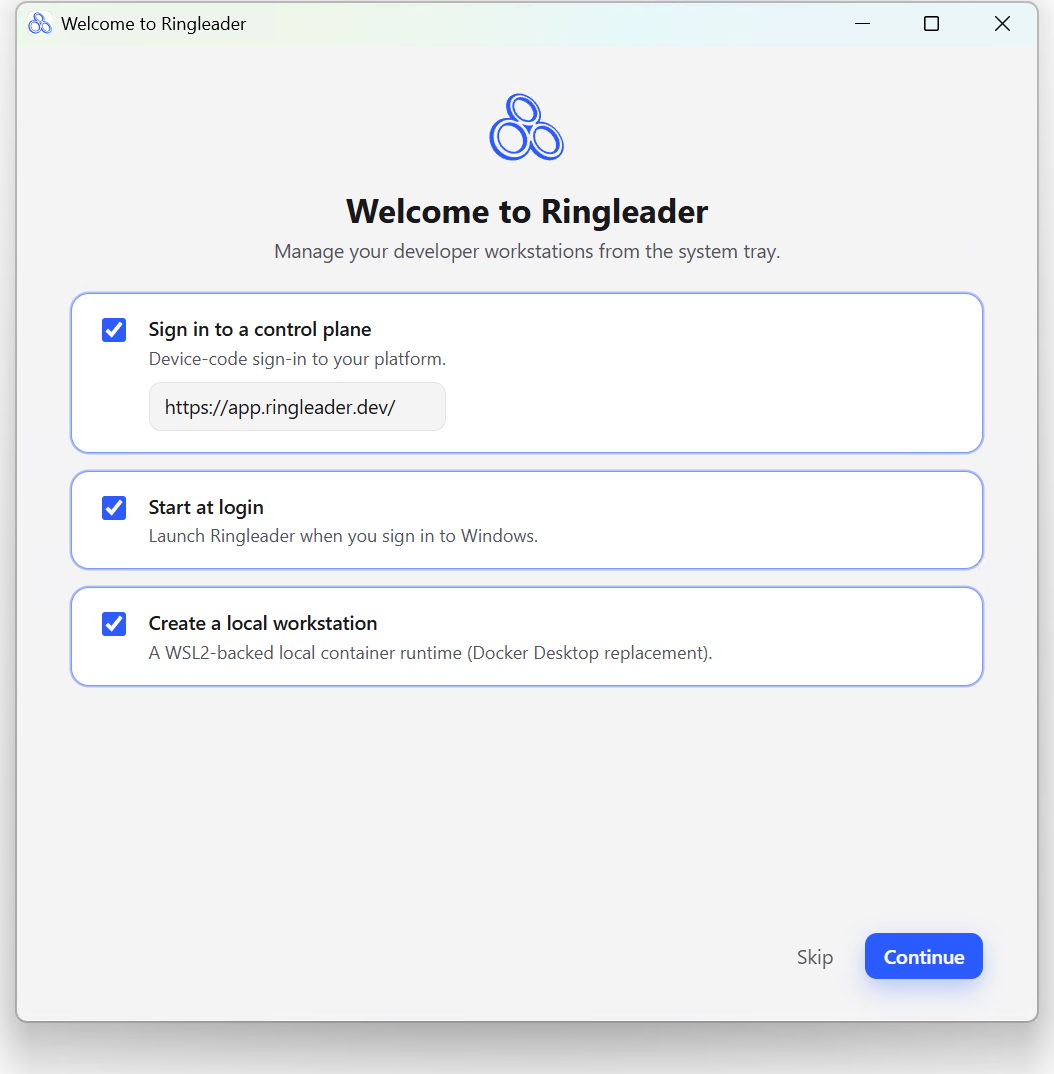
See Onboarding for a full walkthrough of signing in and bringing up your first workstation.
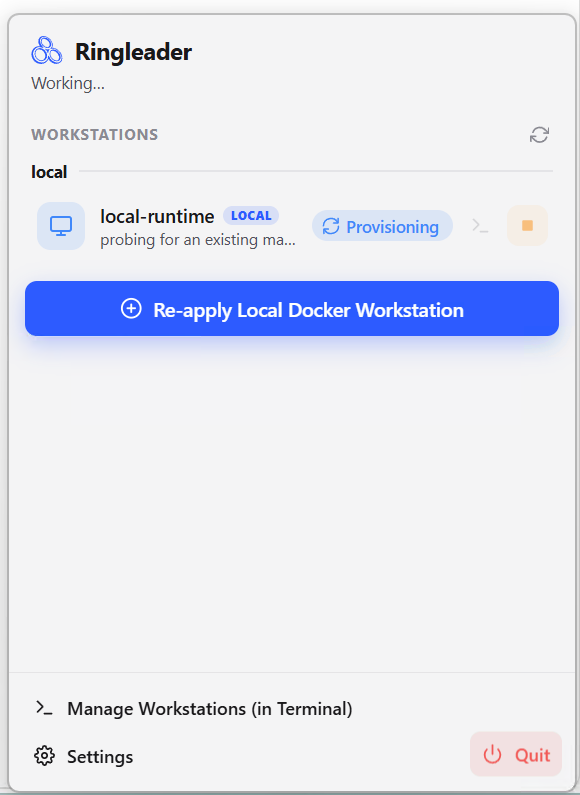
6. Find the app in the system tray
Ringleader lives in the system tray. Look for the Ringleader mark there. Click it for the status of your workstations at a glance, with per-row controls.
The Settings window
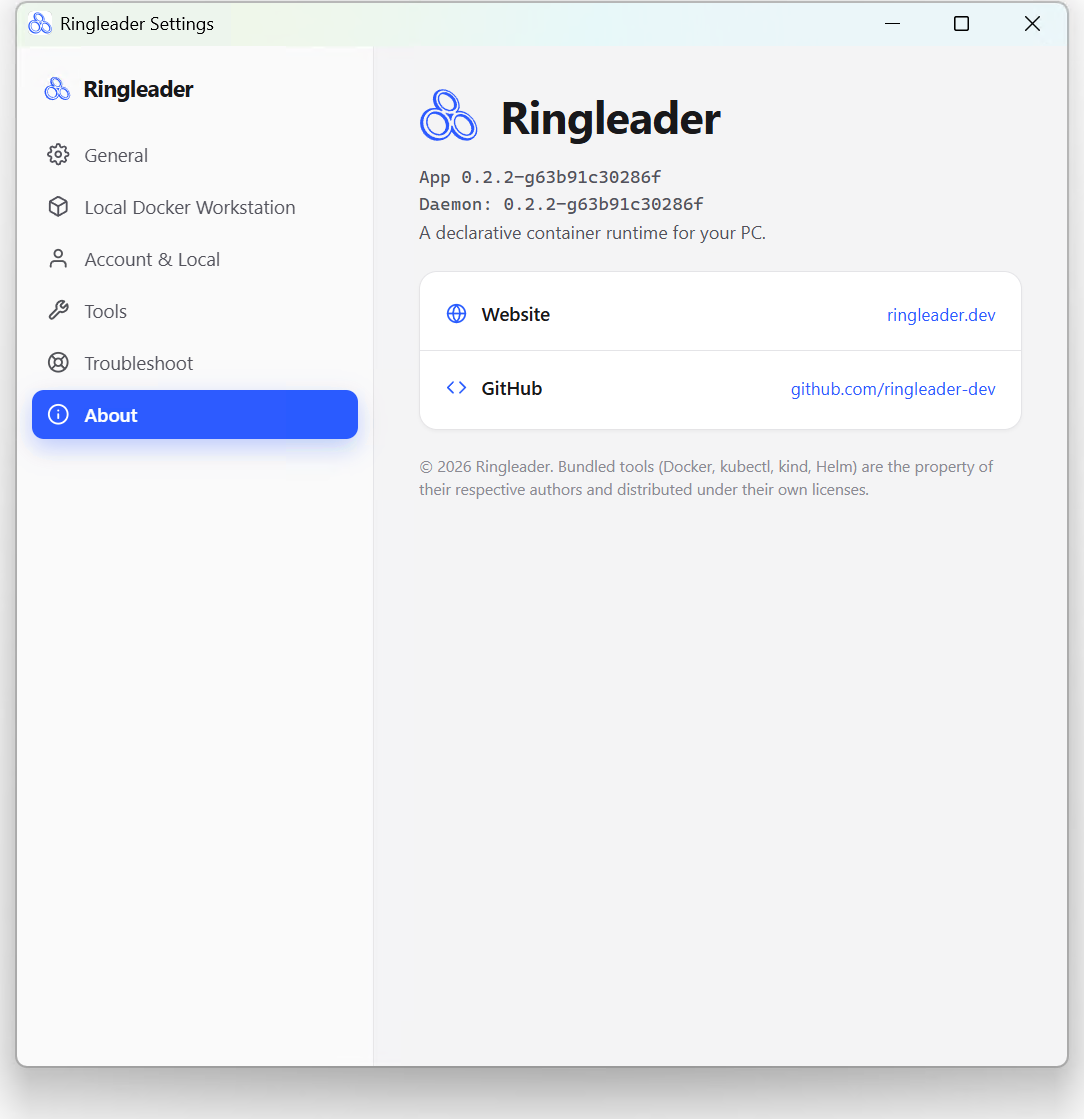
Right-click the tray icon and choose Settings to configure Ringleader. The window groups options into several panes (General, Local Container Workstation, Account & Local, Tools, and Troubleshoot) plus an About pane that shows the installed app and daemon versions.
Optional: reach workstations with plain ssh
rl shell is a convenience, not a requirement. The daemon continuously writes a
real OpenSSH configuration for your workstations under
%USERPROFILE%\.ringleader\ssh\, and keeps it current as workstations come and go. Wire it
into your own SSH config once, from PowerShell:
$ssh = "$env:USERPROFILE\.ssh"
$cfg = "$ssh\config"
New-Item -ItemType Directory -Force -Path $ssh | Out-Null
$existing = if (Test-Path $cfg) { Get-Content -Raw $cfg } else { "" }

# Add the Include as the FIRST line (see the warning below).
Set-Content -Path $cfg -Value ("Include ~/.ringleader/ssh/config`r`n`r`n" + $existing)
From then on ssh my-box, scp, git clone my-box:repo.git, and VS Code / Cursor
Remote-SSH all reach your workstations by name, with the host key pinned.
The Include must come first
Include
sits below a Host * block that sets IdentityFile, ssh will offer the wrong key
and fail to authenticate. Keep the line above every Host and Match block.Three things differ from macOS:
- No connection multiplexing. Win32-OpenSSH does not support
ControlMaster, so Ringleader omits it and everysshinvocation performs a full handshake. - Several
ssh.exemay be on yourPATH: the Windows OpenSSH optional feature, the one bundled with Git for Windows, and any installed by Scoop or Chocolatey. They read different configuration files. Check which one wins withGet-Command ssh. - WSL has its own SSH config. The
Includeabove applies to the Windows host. Ansshrun inside a WSL distribution reads that distribution’s~/.ssh/config.
If your OpenSSH build does not expand ~ in an Include, use the full path instead:
Include C:\Users\<you>\.ringleader\ssh\config.
See Using ssh directly in the CLI reference for the
host aliases, what each generated block contains, and the caveats.
Uninstalling
Delete your hcs workstations first, with rl workstation delete <name>. The uninstaller
removes the Ringleader VM Service. It does not remove %ProgramData%\RingleaderVM, the folder
where the service keeps those workstations’ disks, and it does not stop a workstation that is
still running.
Then remove Ringleader like any other Windows application: Settings → Apps →
Installed apps → Ringleader → Uninstall. Your data directory
(%USERPROFILE%\.ringleader) is left in place; remove it too if you want a
completely clean slate.