



Onboarding & your first workstation
First-run setup with the Ringleader app: sign in, create the local runtime, wire up ssh, and boot your first workstation.
The first time you launch the Ringleader app (the macOS native app or the
Windows tray app) it runs a short onboarding wizard and starts a background
rl daemon, the control loop that boots workstations, delivers the in-VM agent, and
forwards the Docker socket. Both apps show the same wizard, offering the same actions
in the same order, so this page covers either one. It walks through onboarding and
then brings up your first workstation.
The onboarding wizard
Onboarding shows once on a fresh install and offers four opt-in actions. Pick the ones you want; you can do any of them later from Settings.
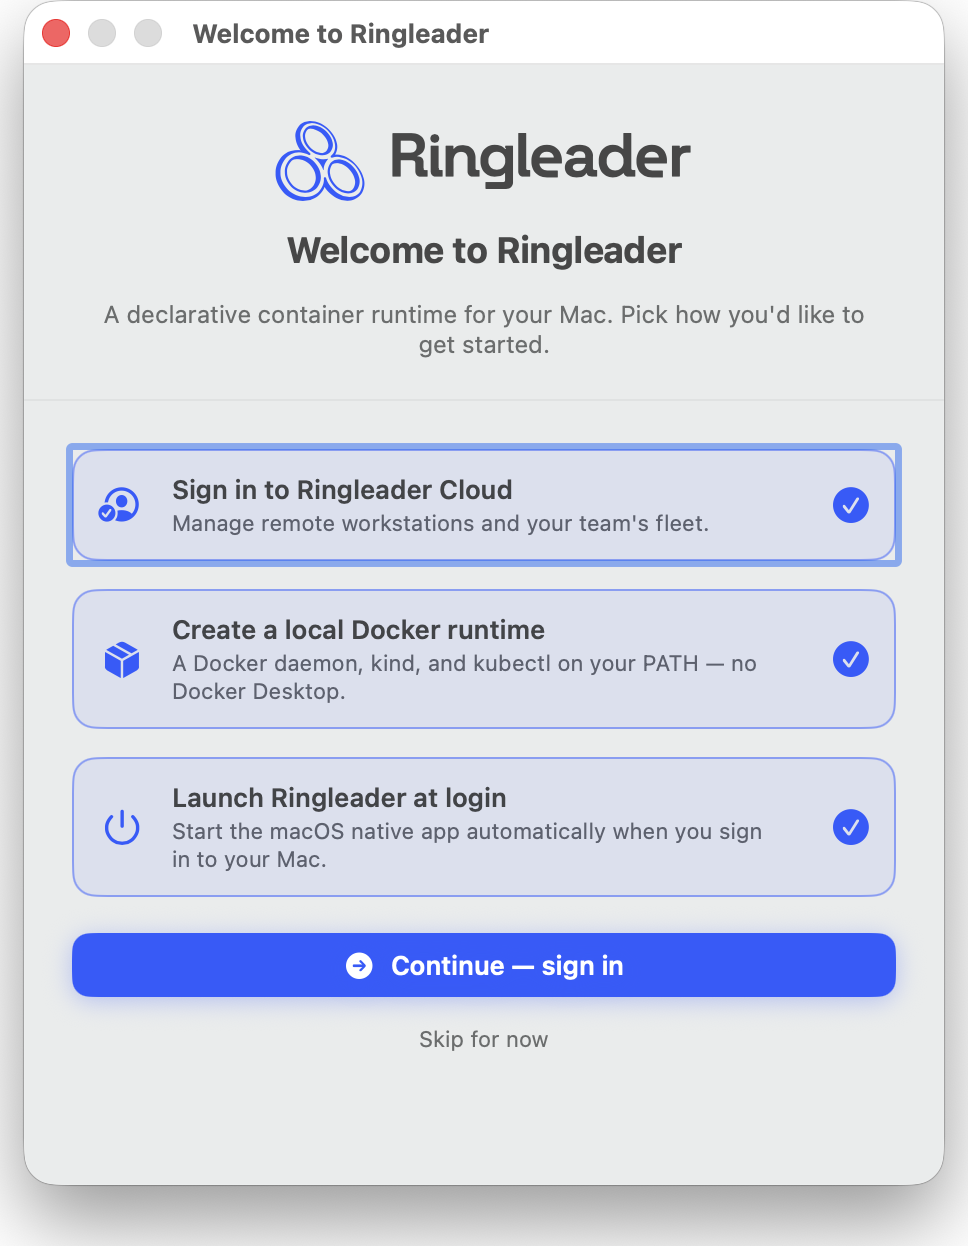
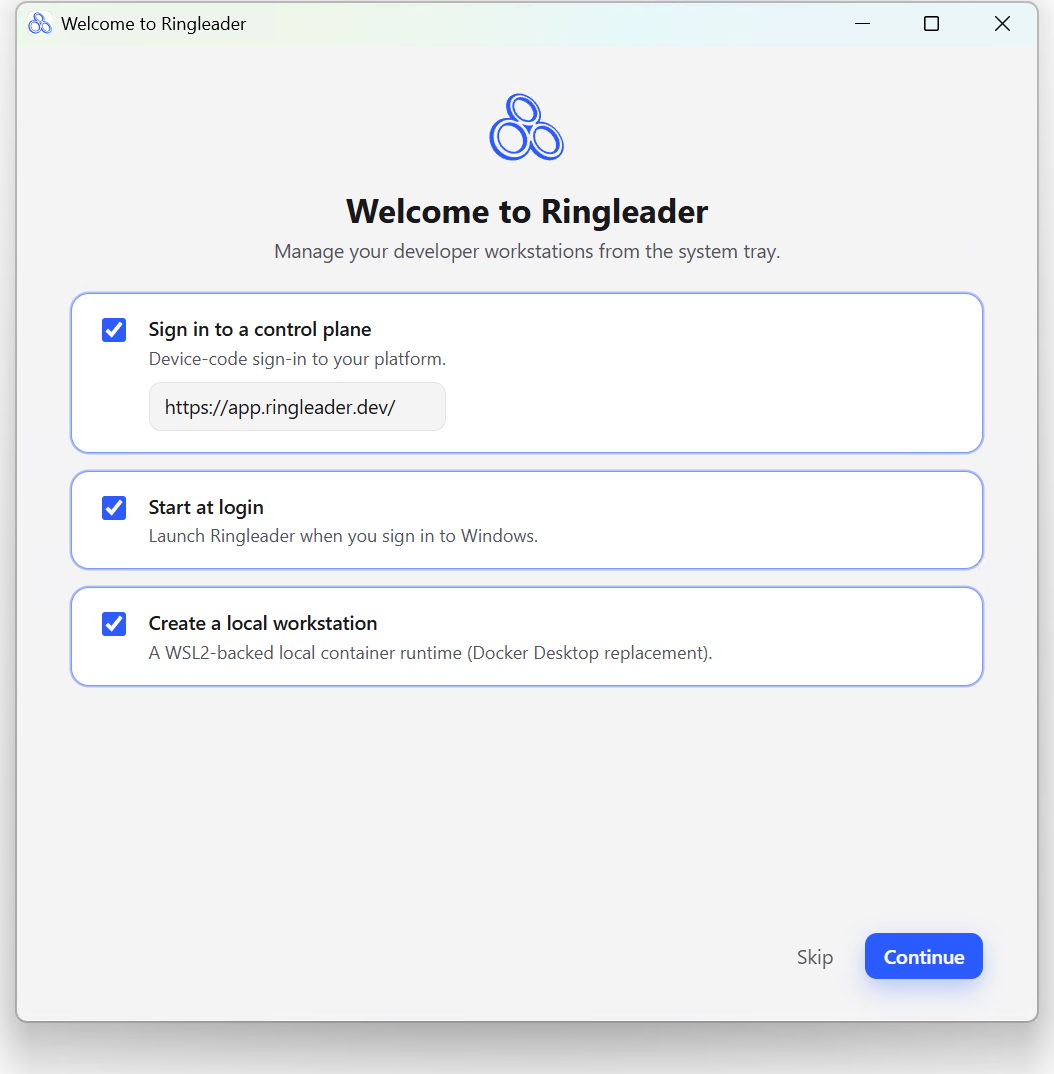
1. Sign in to Ringleader Cloud
Signing in federates your machine with the Ringleader control plane so you can create cloud workstations and share configuration. The app uses a device-code flow: it opens your browser to a verification page and shows you a short code to confirm.
The wizard’s Sign in button signs you in to https://app.ringleader.dev. To do the
same from the command line, run rl auth login. To use a different control plane, pass
its URL:
rl auth login                                          # https://app.ringleader.dev
rl auth login https://your-control-plane.example.com   # a different control plane
Confirm you are signed in:
rl auth statusNote
auth commands for details.2. Create the local container runtime
The local container runtime is a local Linux machine running dockerd: a vz VM
on macOS (a lima VM when your Mac cannot run vz), a WSL2 distribution on Windows.
Ringleader forwards its Docker socket to your machine and creates a ringleader Docker
context for it. Creating the
runtime switches the current context to ringleader, so docker in every
terminal talks to Ringleader’s runtime:
docker psIf you already use another Docker runtime, such as Docker Desktop, OrbStack or
Colima, the wizard leaves this option unticked, because ticking it moves docker
in every terminal over to Ringleader. You can switch between the two at any time:
docker context use ringleader       # Ringleader's runtime
docker context use desktop-linux    # back to Docker Desktop
Deleting the runtime, from the app or with rl local-runtime delete, switches
docker back to the context you had before. Docker Desktop also switches the
context back to desktop-linux each time it starts.
Ports a container publishes are forwarded to your machine’s localhost
automatically, the way Docker Desktop behaves, so a container started in the
runtime is reachable from your own browser and tools with no extra step:
docker run -d -p 8888:80 nginx
curl localhost:8888        # works from your machine
Only ports a container actually publishes surface this way; the runtime’s own system services are not exposed.
On a Mac, the runtime shares these folders with your containers, at the same paths as on your Mac:
/Users/Volumes/private/var/folders, where your Mac keeps$TMPDIR
A container can read and write them, so docker run -v "$PWD":/app and a
compose file’s ./src:/app work unchanged:
docker run --rm -v "$PWD":/app alpine ls /app # lists your current folderIf /app is empty in a runtime you created earlier, run rl local-runtime create
again. That gives the runtime these folders, and restarts it once.
/tmp is not shared, so -v /tmp/x:/x reaches the runtime’s own /tmp, not
your Mac’s. An edit you save on your Mac does not reach a file watcher inside a
container, so a dev server’s watch mode may miss it. A runtime on lima shares
none of your Mac’s folders.
On Windows, a container cannot mount a folder by its Windows path. For example,
docker run -v C:\\Users\\you\\project:/app fails because Docker reads /app as a
mount mode. If you use the default WSL2 runtime, use the path as WSL sees it instead,
usually /mnt/c/Users/you/project:
docker run -v /mnt/c/Users/you/project:/app image-nameYour WSL configuration can use a different mount root. For copy-based workflows, use a
named volume for files the container owns, docker cp to copy files into or out of a
container, or rl file cp -r ./project local-runtime:/home/dev/workspace/project to copy files
into the runtime before mounting that runtime path in a container.
You can still run docker build from a Windows folder.
Anything that runs in the runtime can read and change everything in these
folders. That includes ~/.ringleader, which holds the workstations on your Mac
and the key that logs in to each of them. Ringleader shares these folders with
the local runtime only: a workstation you create shares none of them unless its
own spec lists them. Run an agent in a workstation of its own, not in the
runtime.
A container in a runtime on vz cannot reach services running on your Mac, such as a
database on its localhost. The vz section
says how to carry one in. A runtime runs on lima when your Mac cannot run vz, and a runtime
created before vz became the default stays on lima. A container in a runtime on lima reaches
your Mac’s services at host.lima.internal.
The local runtime lives in the reserved local namespace and appears in the
Ringleader app’s workstation list like any other workstation.
3. Set up ssh for workstations
This adds a single Include line to your ~/.ssh/config so that ssh, scp,
git and VS Code Remote-SSH reach your workstations by name, with no rl in the
loop. It is the only onboarding action that edits a file you own, so leaving it
unchecked leaves ~/.ssh/config untouched.
The same thing from the command line:
rl ssh-config installWhat the include pulls in, and why it has to be the first line of the file, is in
Using ssh directly. You can
also turn it on later from Settings → General → “Reach workstations with plain
ssh”.
4. Launch at login
Check Launch at login during onboarding to start Ringleader automatically when you sign in, so the daemon and your runtime are always ready. You can change this anytime from Settings → General → “Launch Ringleader at login” (see the Settings reference). On macOS the same toggle also appears under System Settings → General → Login Items. On Windows the app registers itself the way any startup app does, so it also appears wherever Windows lists startup apps.
After onboarding
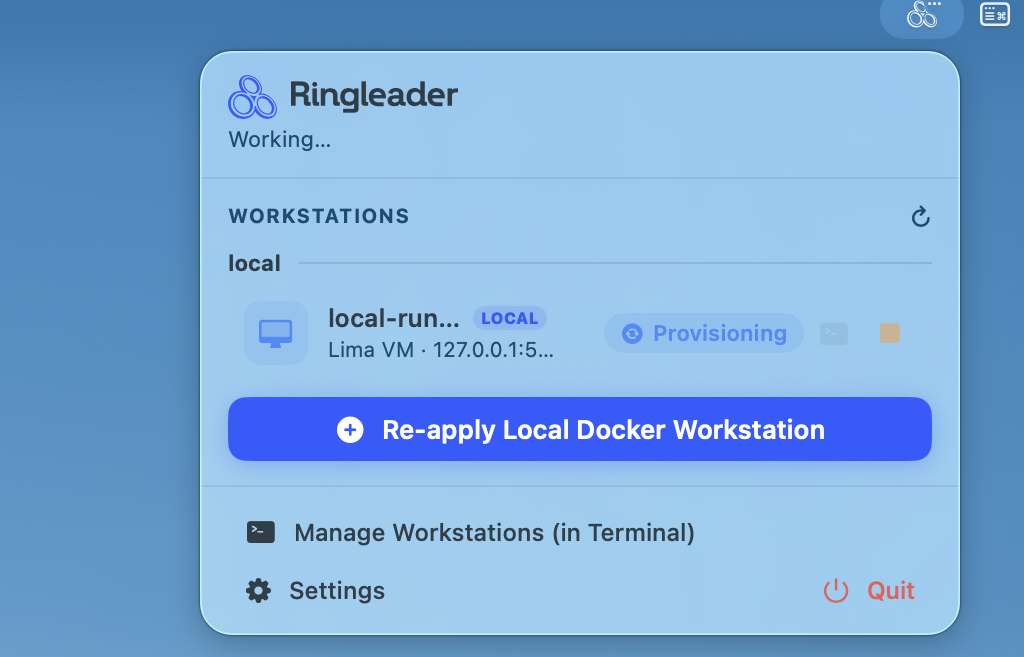
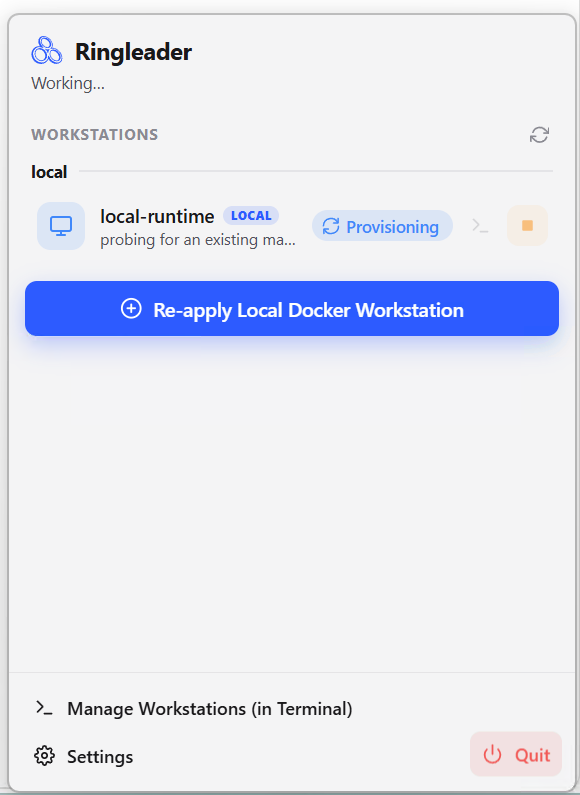
The Ringleader app shows a live list of your workstations with status pills and per-row start / stop / shell controls. The Settings window has an Account & Local pane (identity, backend version, token expiry) and a Local Daemon section with Start / Stop / Restart and a Troubleshoot view.
Boot your first workstation
A workstation is a resource like any other, and the simplest one specifies nothing at all. Ringleader picks where to run it (the provider, here a local Linux VM on your machine) and fills in sensible defaults, so you get a working Linux machine without configuring anything:
rl workstation create helloOr describe it declaratively in a manifest, a YAML file you write and apply
like kubectl. Create workstation.yaml:
apiVersion: workstations.ringleader.dev/v1
kind: Workstation
metadata:
  name: hello
  namespace: local
spec: {}rl apply -f workstation.yamlOr, apply the file from our example in GitHub, which is the same manifest:
rl apply -f https://raw.githubusercontent.com/ringleader-dev/ringleader-examples/main/getting-started/01-hello-workstation/workstation.yamlRingleader records it and reports what it did and where the resource now lives:
workstation/hello created → self (local namespace, stays on this device)The arrow is placement feedback: self means this machine’s own store, and the
reserved local namespace always stays on your device.
Watch it come up
The rl workstation create or rl apply command from the last step starts your
workstation in the background. On the way up it passes through the phases Pending,
Provisioning, PostInstall and Running. Watch its progress in the Ringleader app’s
workstation list, or in the terminal with the commands below. The table’s STATUS column
shows each phase as it passes, then Ready once the workstation is up and fully configured.
rl workstation get -w
rl workstation wait hello --for Ready --timeout 10m
For a human-friendly summary of phase, headline message, and conditions:
rl workstation describe helloConnect
Once it shows Ready, open a shell:
rl shell hellorl shell connects over SSH using the node key, resolving the address and
login user from the workstation’s status. Run a one-off command instead of an
interactive shell by appending it:
rl shell hello -- uname -aThat’s it. The environment is persistent. Stop it, come back tomorrow, and it picks up where you left off. Apply the same file again and Ringleader brings the machine back in line with it.
Next, learn how to make these environments do real work in Configuration.